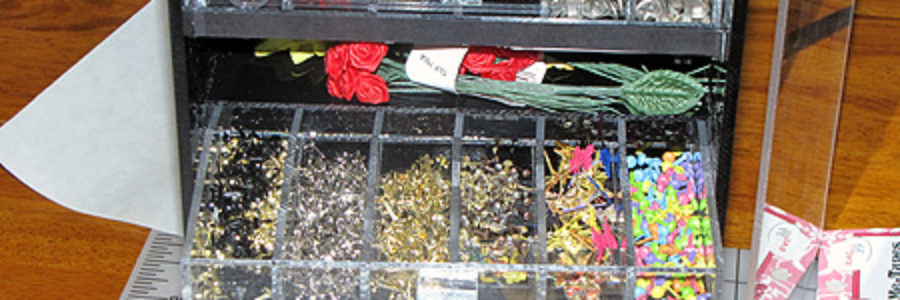
2. Organize Embellishments. Check!
 I bought this plexiglass cabinet a couple of years ago when our local Ben Franklin’s was having their going out of business sale. At the time I wasn’t sure what I would use it for. I finally decided today that to put my beads in it would be a bit scary deal should it ever fall over, SO I thought my embellishments would be better being that they are larger so that is what I did.
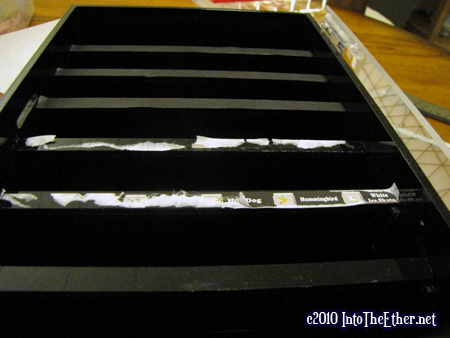
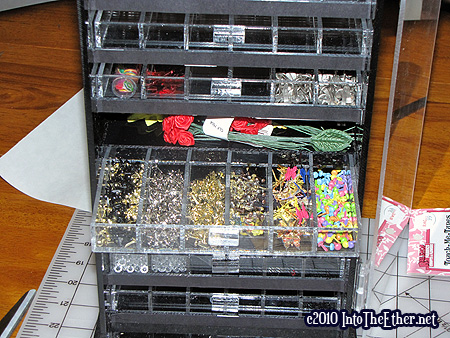
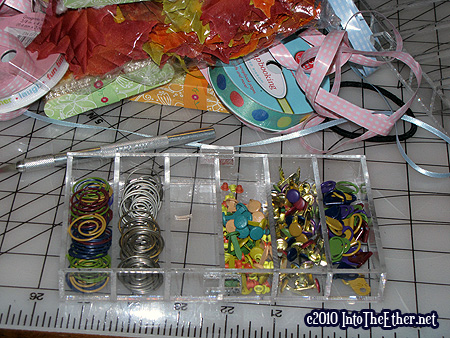
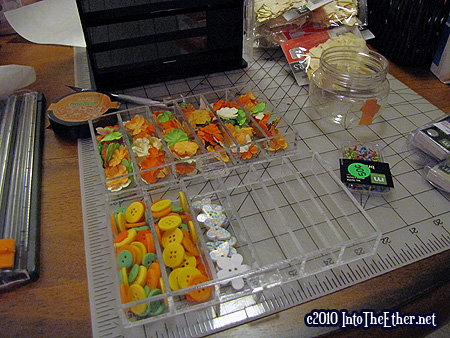
I didn’t take a before picture, but I had all these in their original boxes in a basket and just like my ribbons, I couldn’t see what I had. Now that I have my items organized, I think I can now begin my ideas for projects. Incidentally, You see the brads that I got for 50cents at a yard sale over the weekend? I just came across these online just now. They are by Making memories and they retail for 2 dollars! I love yard sales.
Thanks for visiting!

