3. Organize Buttons. Check!
In a previous post I mentioned I got a full jar of buttons at a yard sale. Over the weekend Michaels was having a huge sale so of course I went, but I came across these cute little jars that were $1 a piece so I thought i’d get them to organize and color code my buttons into them and that is what I finished up tonight.
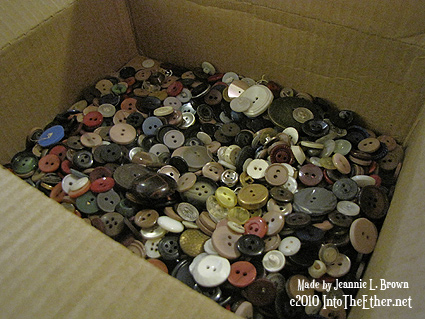
I started by dumping all the buttons into a box so I could sort them better.
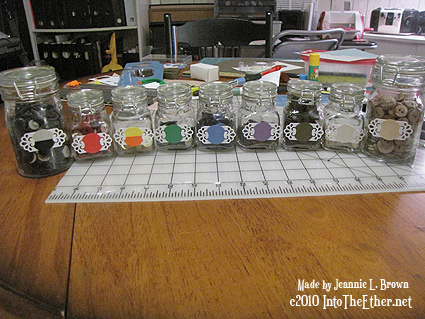
I finally got them organized and on the shelf but thought they needed a label of some kind.
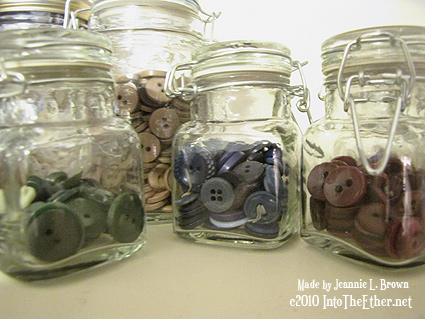
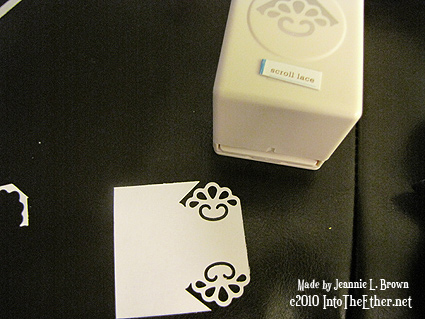
So on that trip having also gotten a MS corner punch (scroll lace), and a fiskars 1inch circle punch, I thought I’d make the labels.
With a white 1 1/2 inch square, I punched across near the corner, then turned the paper around and punched the other corner. Then cut across to finish the other side. I was able to get 2 label mounts out of that one paper.
Then with my 1 inch punch, I cut all the colors I needed to place in the mount. For some of the jars that I didn’t have alot of that color, I put two colors into the same jar. Hence the labels with the semi circles.
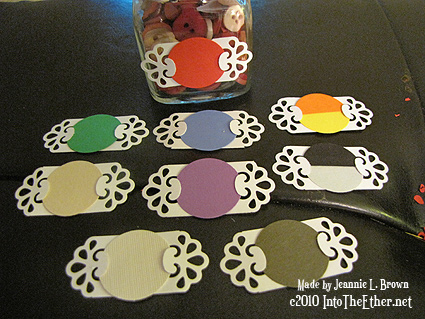
Then I just used zots to put them together and onto the jars. All done!
Thanks for visiting! Be inspired to organize! It does make creating that much easier.
Items I used:
Martha Stewart Scroll Lace Corner Punch
Fiskars Medium Circle Punch 1 inch
Apothecary Jars
Buttons(Yard Sale)
All items bought at Michaels except where noted.
