
Add Bookcase Shelves for DVD Storage
I found an idea online about 6 months ago on how to organize DVD storage in photo boxes. I thought it was a great idea and would make our bookcase much cleaner looking vs. rows and rows of dvd spines showing.
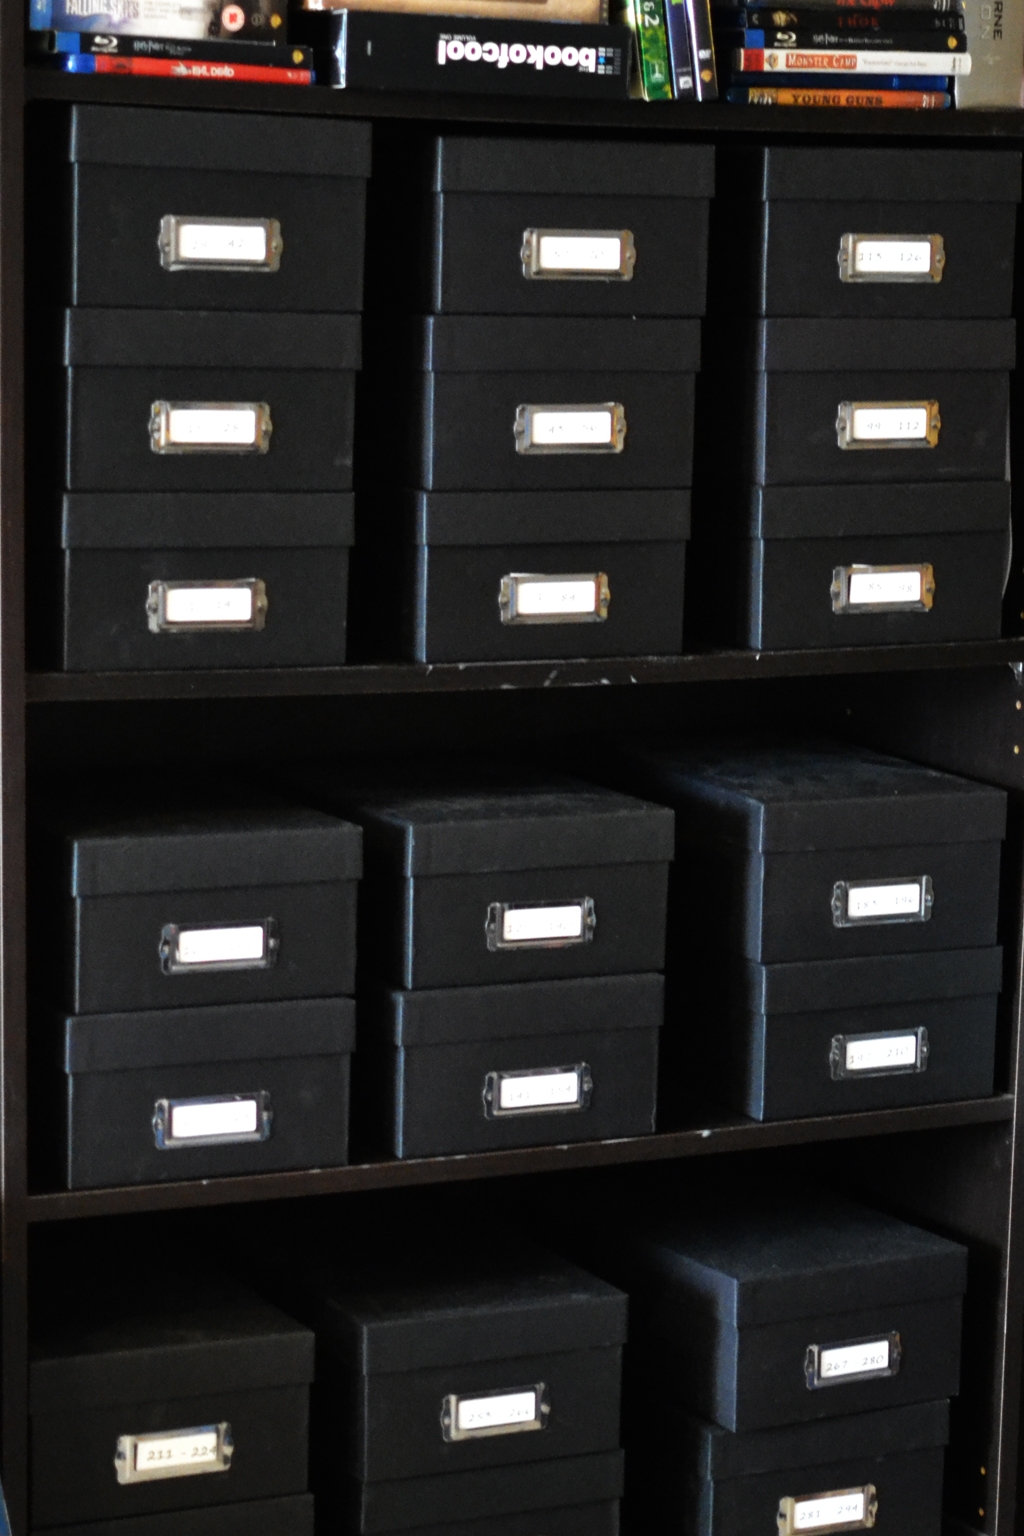
The bookcase we have however has shelves that are so far a part, I had to stack boxes on top of each other. So having to look at a list of movies that I cataloged and numbered, it got to be cumbersome finding and getting a movie we wanted out of each box.
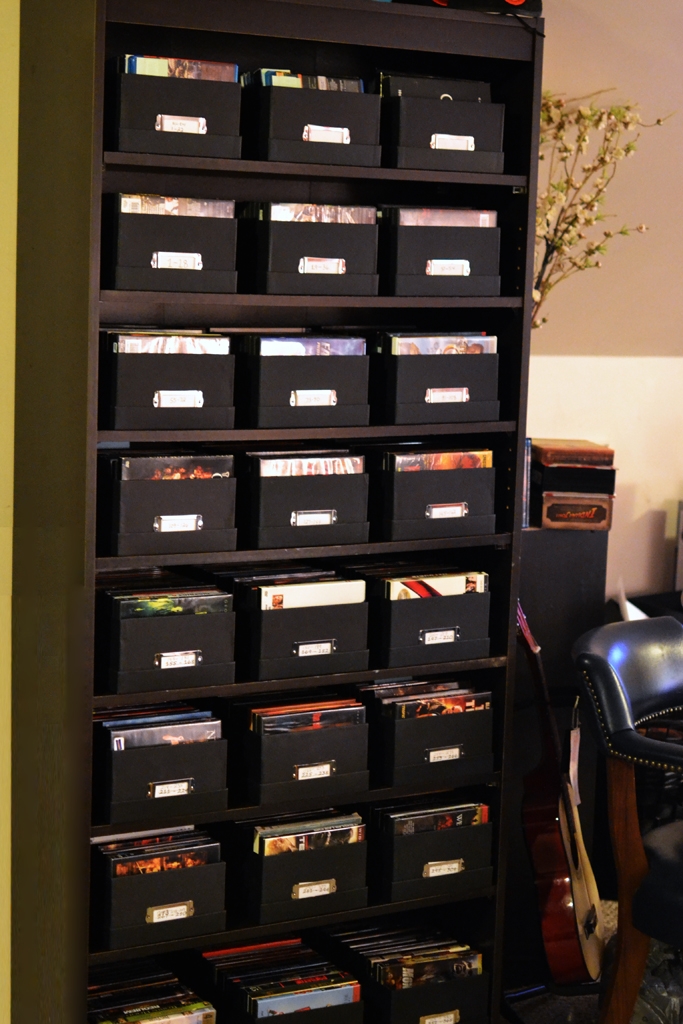
So I had an idea to add shelves to the bookcase so that every row of boxes could have their own shelf.
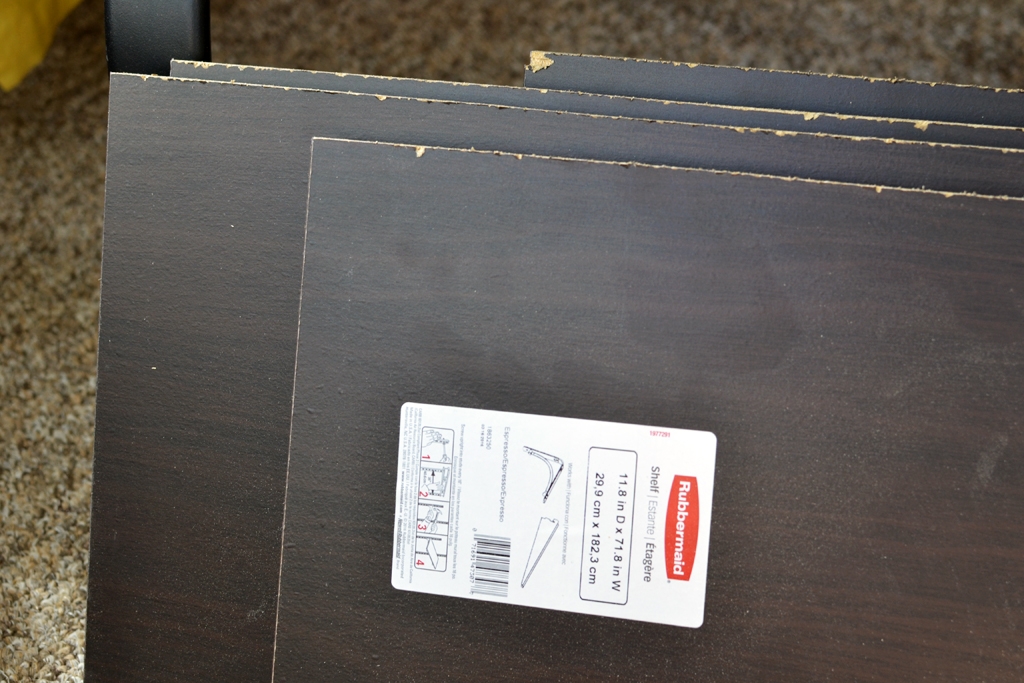
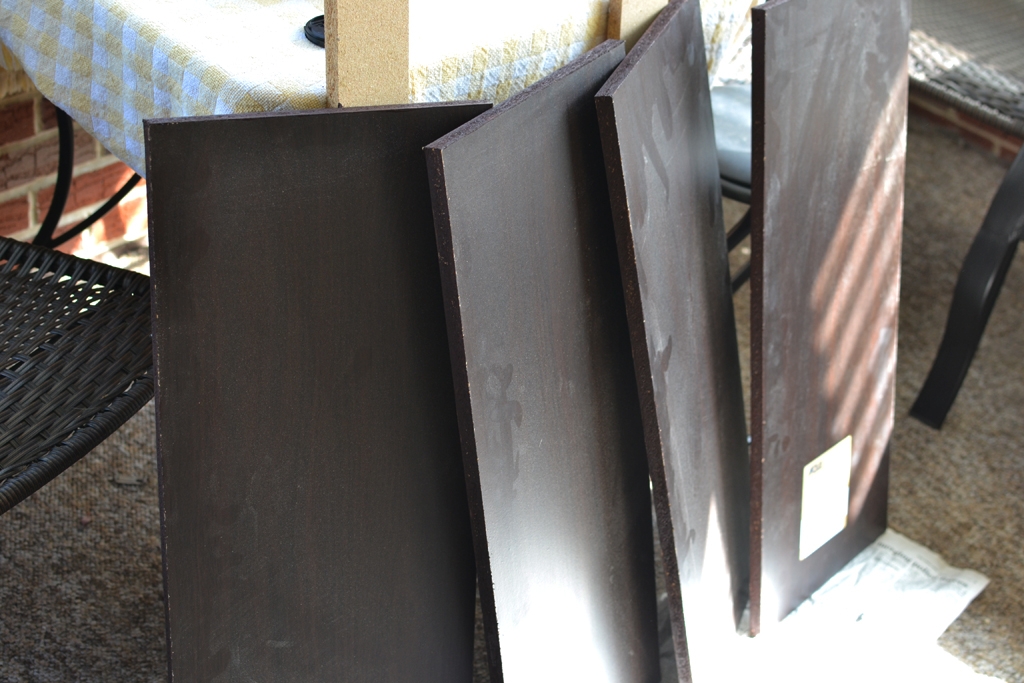
I went to Lowes, and purchased a couple shelves so that I could get 2 shelves cut from the 71.8 inch wide shelves.

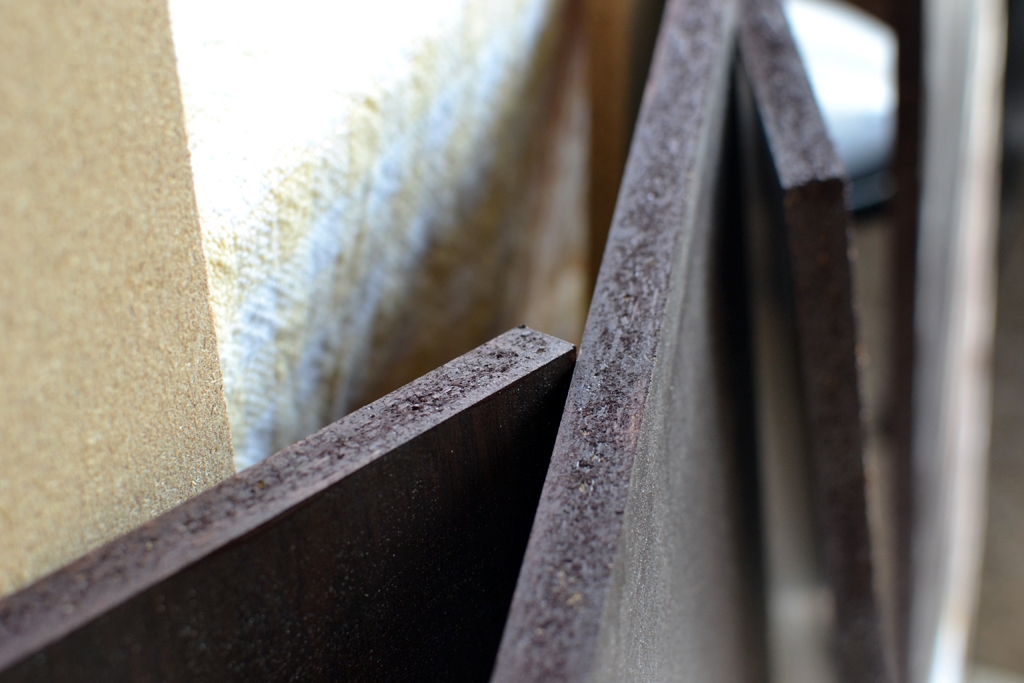
Lowe’s can cut down shelves like these for free so I came with the measurements. I needed them to cut the shelves but also I needed some of the depth cut down. The photo below you can see that the cut looks clean which is great…
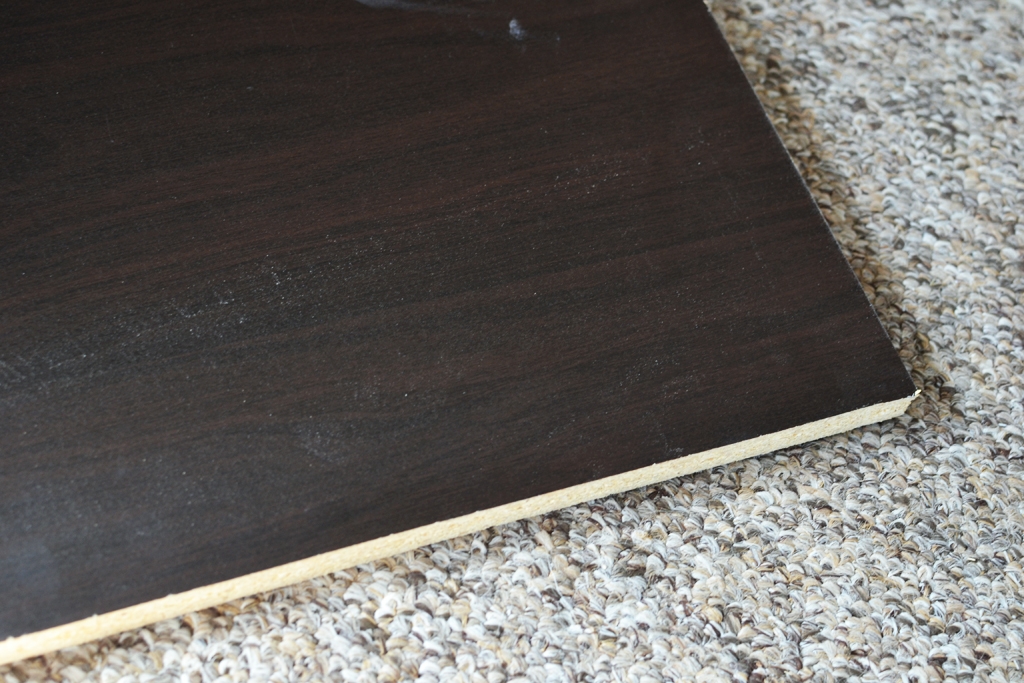
…but as you can see the other side looked a bit rough. The clerks at Lowes DID tell me this might happen but I didn’t have a choice cause I don’t have any circular saw at home. Lowe’s used a blade with such large teeth on it, that if they made it a practice to change out the blade that would help in situations like this when particle board needs cut. However I was fine with it and decided to paint it.
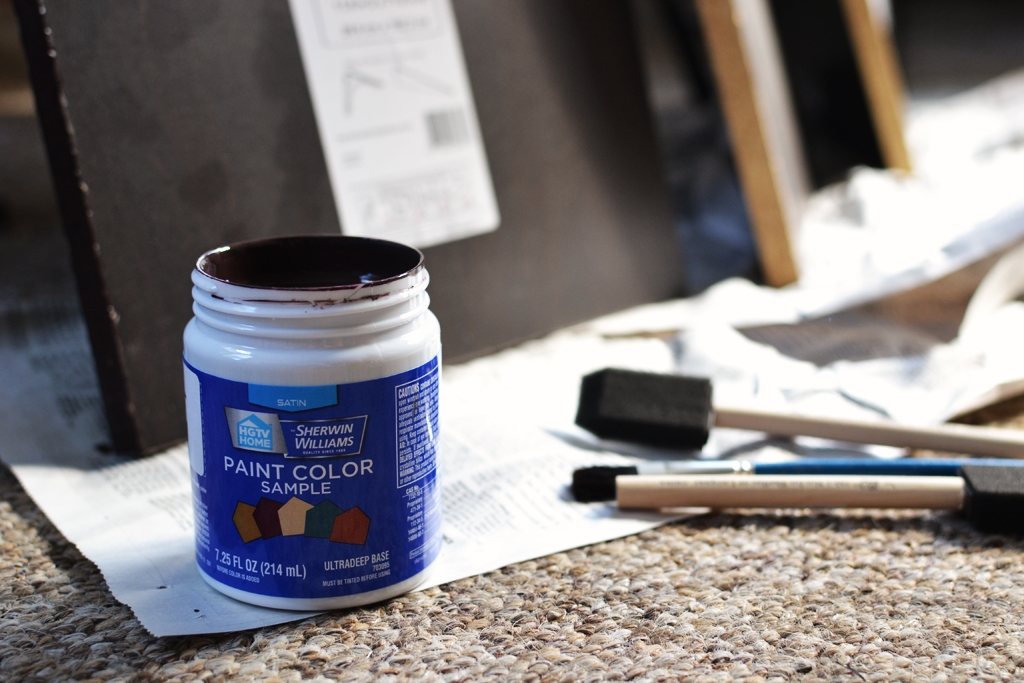
So I took the cut boards to the paint area, and found a paint chip that matched the expresso color of the shelves. Paint samples are only $3 dollars.
So after I was done, I thought they looked great. Now it was time to put the shelves in. However, Oops! I didn’t even realize that the holes in the bookcase were not drilled all the way up the sides. So I had to drill holes for the new shelves now.
To make the holes even, I found some plastic packaging to make a template of the holes pre-drilled in the bookcase already. That way, when I lined them up to mark where the next shelf went, they would be even. No measuring needed.
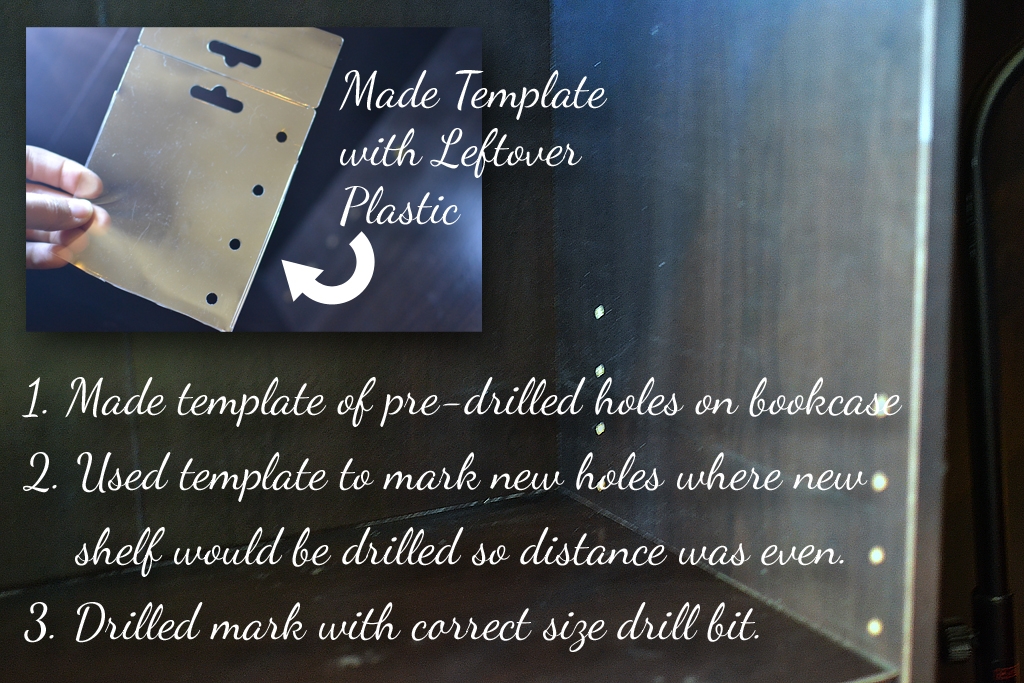
If you look at the holes in the above picture, there are only four holes showing. The holes didn’t go the whole way up. I lined up the holes to the top two, then marked the top hole as the next drilled.
The shelves ended up being about 7 inches apart.
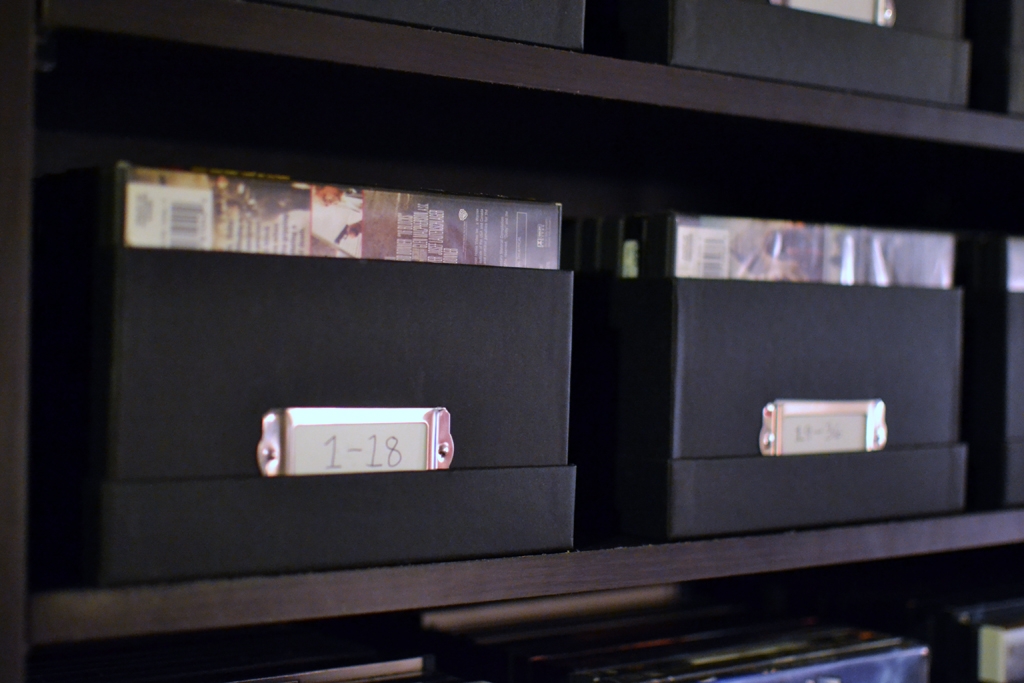
I also decided to orient the movies in the photo boxes spines up, and treat them like ‘drawers’ that we can now pull out each one to browse what movies we have.
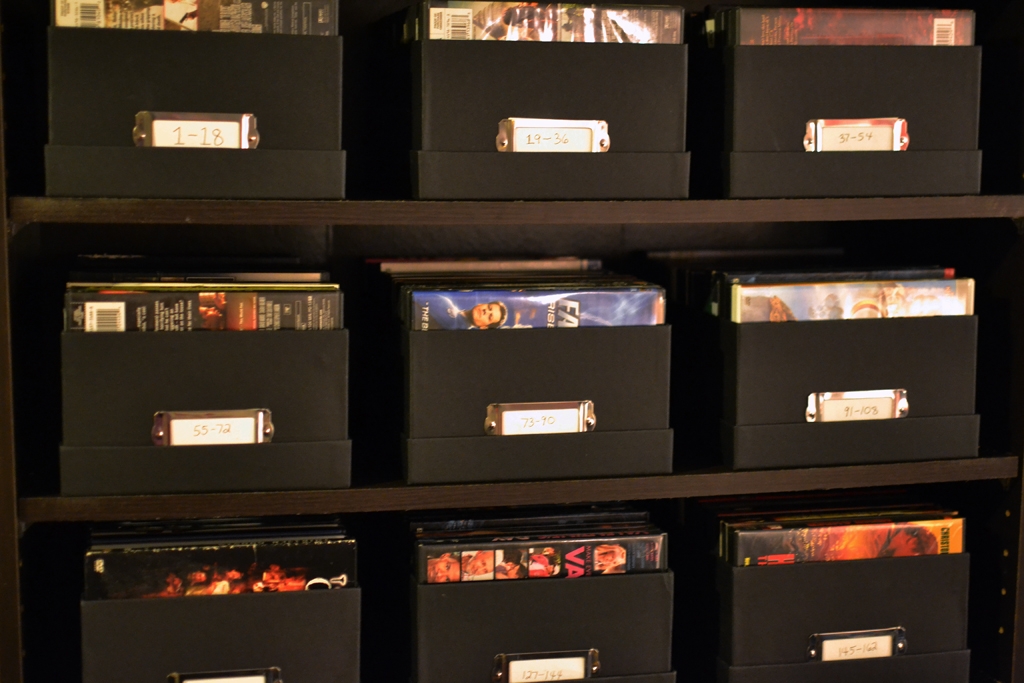
I was able to put more movies into one box than i did with the lids on. So i had to update the labels with the new range of movies in each box-drawer. I wrote the number on the movie case as well, in silver sharpie, so I’ll also be able to easily put away the movie when we are done with it. We have so many, I had to start cataloging cause while organizing them I found about 6 sets of duplicates.
So here it is…each row of boxes now has it’s own shelf. Easy to pull out and find what we are looking for.
What have you organized lately?
On a side note, tomorrow is the first day of October. Bloggers have ‘blogtober’, Vloggers have ‘Vlogtober’. I’d like to coin the phrase ‘Phlogtober’ (short for Photo + Blog + October)! XD . Basically, I want to take a Photo a day, for Instagram and hopefully blog about it every day in October. Also to commemorate my favorite month being that it’s Halloween month! I’ve tried daily posts before and RL just gets in the way. So it’s a goal at least I’m setting. Wish me luck!