Japanese Stab Bookbinding
Inspired by a tutorial video I found on Youtube the other day, I saw a bookbinding technique called the Japanese Stab binding technique. I thought it would be a great use for some paper I saved from a place I used to work which was about to throw it away that I’ve had for years but never knew what to do with but didn’t have the heart to throw away. These make great purse notebooks.
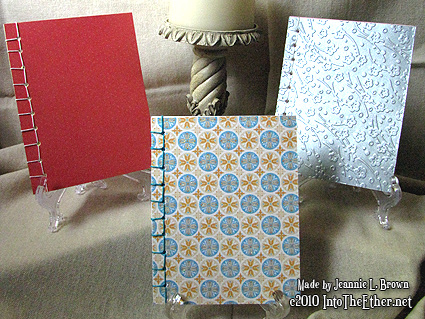
The books are 4.25 x 5.5 in size. The paper inside was some 24lb copy paper in yellow, pink, and white. The covers come from various scrapbooking paper I had on hand. The string I also just happen to have had on hand (got at a yard sale probably about 10 years ago…wow.) but I’ve learned that embroidery floss could also be used.
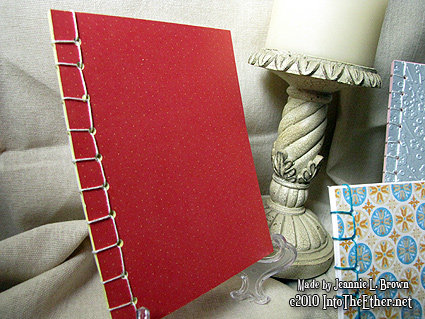
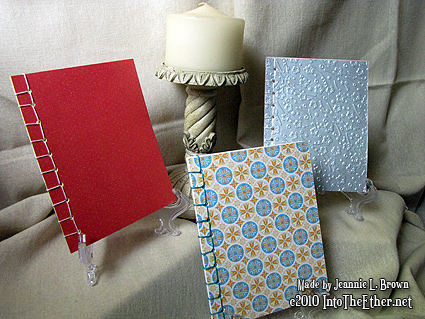
This one has yellow paper inside, and this heavier cardstock cover came from DCWV Mango Tango Mat Stack. The string is off white.
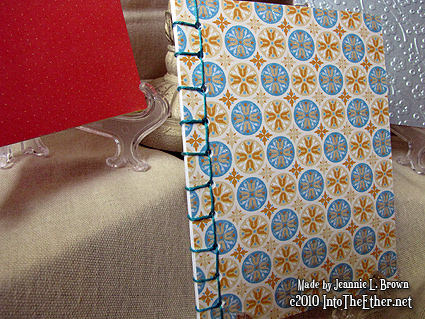
This one has the white paper inside, and this heavier cardstock cover came also from DCWV Mango Tango Mat Stack. The string is a turquoise color.
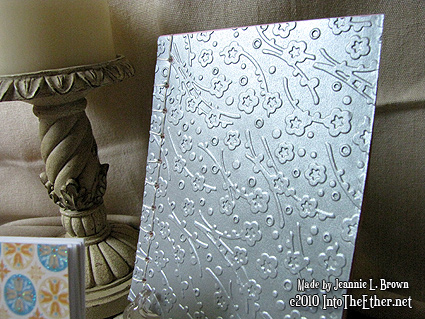
This one has the pink paper inside. I love pink and grey together. This heavier cardstock cover is a metallic silver paper which I love to emboss because it makes it look like real metal to me. I used a Cuttlebug Embossing folder ‘Cherry Blossoms’ from the 4 pack set called ‘Plum Blossom’. The string I just found in my stash that had a really soft feel to it (not sure what it is made off) and it was off white.
Here is the progress of how I did it:
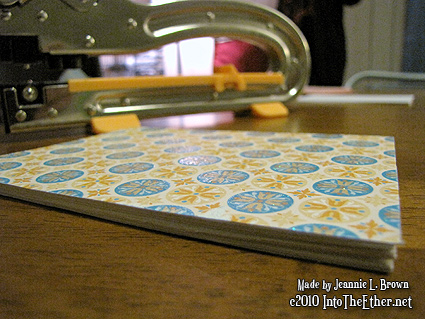
First, I cut my paper and cover. I wanted the least waste possible, so made the books from 8.5 x 11 paper cut down to 4.25 x 5.5. Each book has about 30 pages inside.
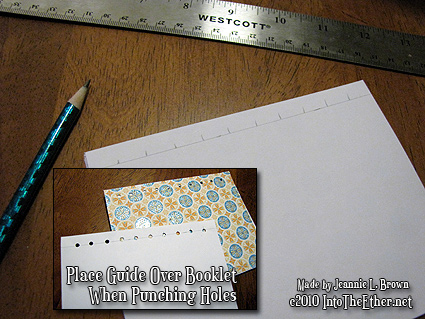
I marked my holes with a paper guide that I measured and marked, at each half inch mark and layered it on top of my book when I punched the 1/8 inch. holes. I was able to then use this same guide for the other two books.
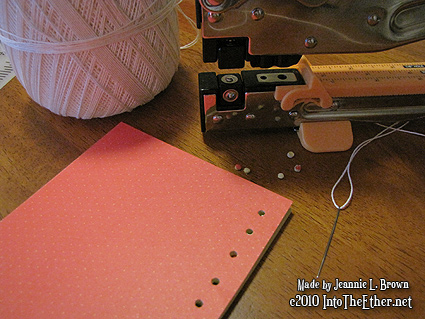
To punch the holes, I used my recently purchased Crop A Dile II that worked well for this purpose. I’m not sure if your actually ‘supposed’ to punch through as many layers that I did, but it seemed to work fine.
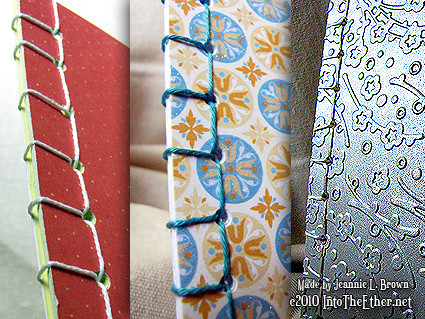
For all three spines, I used the basic stitch pattern. There are other more intricate patterns, but I thought for starters I would use this one.
All in all, I really enjoyed making them, and like I said a great use for paper I had on hand that otherwise, was just sitting in my storage area taking up space.
Photography Testing…
Not sure if you noticed, but this time I tried a more ‘staged’ look to my photos. I’ve seen this on other sites, and really like how it featured what was made alittle better. One thing I need to remember is to throw my fabric in the dryer for a bit to get those fold marks out. I took with the candle stick and without, and it’s obvious which I preferred. It seemed to just add ‘something’.
Thanks for visiting!

August 7, 2010 @ 11:58 AM
How easy is this to do? Could you show me someday? I, have colored paper that sits around. This would be a great gift. Thanks
August 7, 2010 @ 10:06 PM
Hi Mae! Thanks for visiting my site! It’s very easy actually. Here are the videos that I watched to learn how to do it:
Here is the step 1 video where the girl prepares the paper and cover and cuts the holes:
http://www.vanillajoy.com/japanese-stab-tutorial
Here is the step 2 video where she shows you how to sew the book together:
http://www.vanillajoy.com/japanesestab
Let me know if you have any further questions! I’ll be glad to help you out!