Making Corkboards Out of Old Frames
Had an empty wall in my kids room so I decided to make a brag or proud wall to post his achievements and/or artwork. I had this all on hand so didn’t have to make a trip to the store. Here is what I used. Two large frames, a roll of cork (be aware of thickness cause longer push pins will go through the back of the frame…i learned this the hard way), craft glue, scissors..
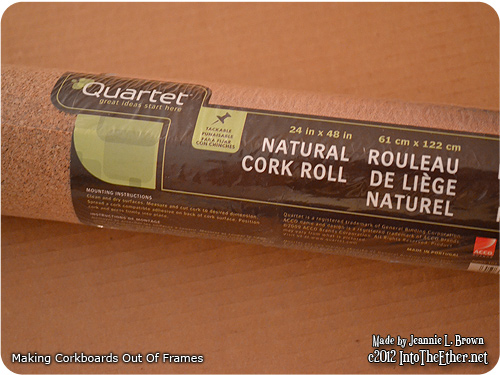
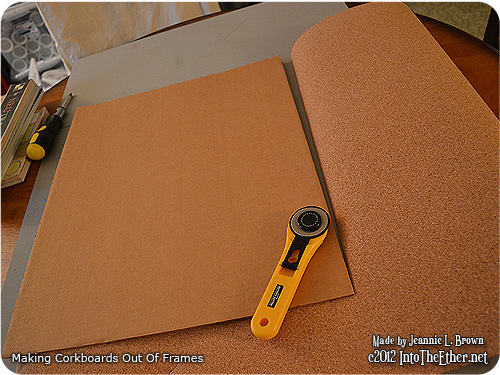
This is the roll of cork I used, but I realized after I had everything done, that the cork wasn’t thick at all and my push pins went right through the back of the cardboard in the frames.
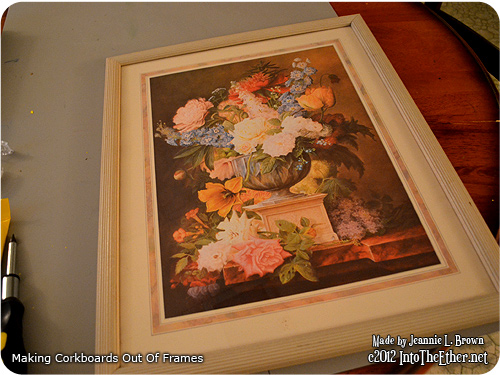
I had a couple of these frames laying around unused. I debated painting them orange since that is the accent color in the room but opted to do that later if I decide.
I unrolled the cork, and layed the piece of cardboard frame backing over top as a template. Then (and just this once) I used my fabric cutting blade for a cleaner, quicker cut than what my scissors would do. I may even be onto something to go and purchase a fabric cutter just for paper projects. Instead of an exacto knife…Just laying a metal ruler down and cutting with one of these fabric cuttesr would make cutting straight lines faster than even just a paper trimmer. But i digress. 🙂
After I cut my cork, I just took one of my favorite glue sticks and just covered the frames cardboard piece with it.
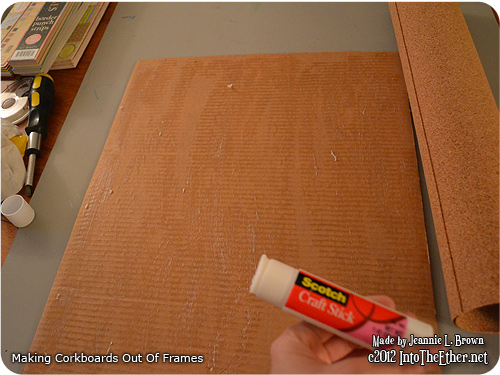
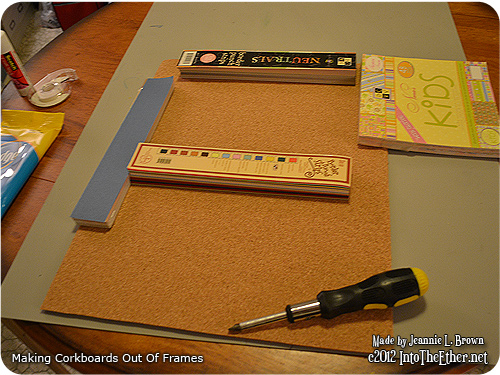
I then proceeded to place the cork over top and placed paper pads all the way around to weigh it down so that none of the edges would curl. I did this for both frames.
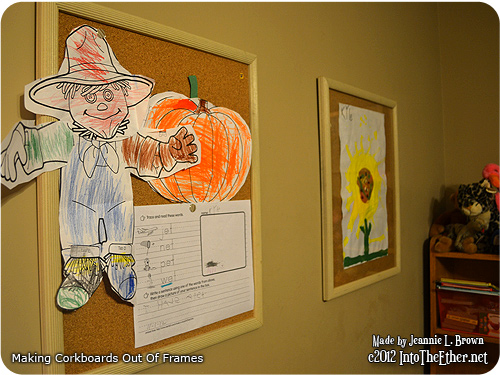
As you can see, I left one be a corkboard and the other, I added the cork to the back, but I kept the glass and made one of them just a frame for a larger piece of artwork that I thought deserved it’s own.
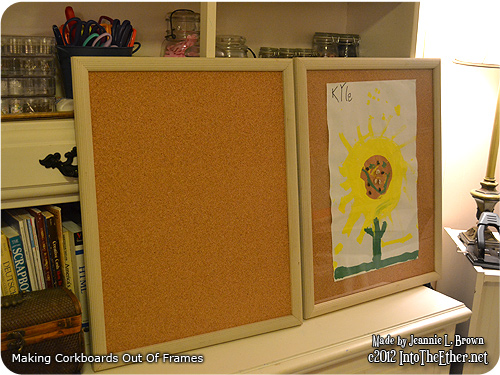
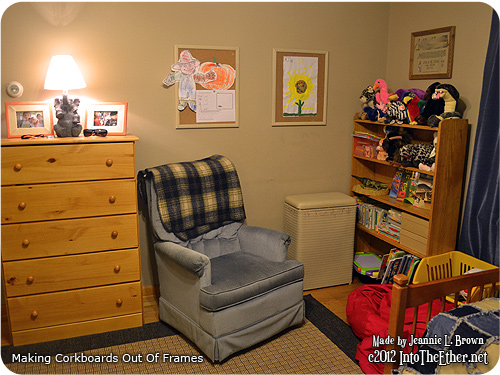
My kids proud wall is complete!