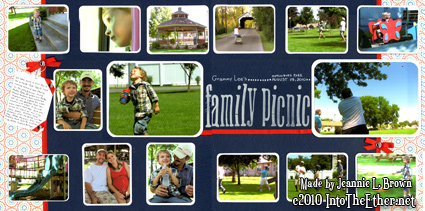
Scrapbook Page “Family Picnic”
On this layout I thought i’d try something I saw in a Creating Keepsakes Magazine. I printed out photos in various sizes (4×6 and wallet) to allow me to use more photos from an event. The larger photos are the focal points, the rest show different moments of the day.
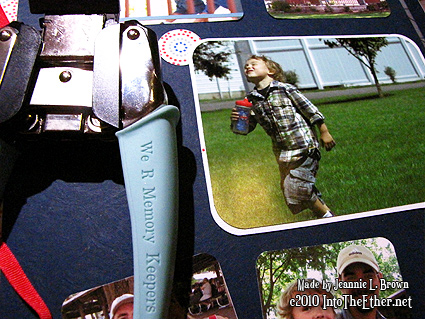
This is the first layout I used my new We R Memory Keepers Corner Chomper. This tool has the 1/4 and a 1/2 corner radius cutter. Usually corner rounding can be repetitive especially on a layout where your rounding photos and rounding mattes. With a punch gets tedious but with this tool, it just felt like it went much quicker and smoother. I also thought it was a great tool to have being that it cut two different radius. The cheapest place I found and bought mine from if your in the market for one is on ConsumerCrafts.com for $17.
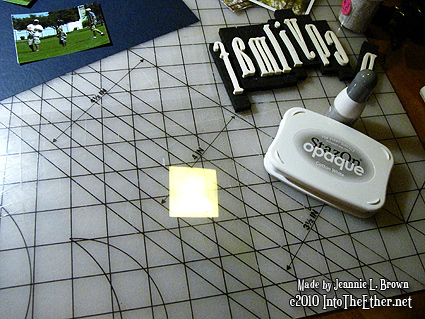
I thought about stamping directly on my paper but just couldn’t bring myself to do it incase I messed up so I thought i’d use some plastic sheets with my opaque cotton white stazon ink. I got these stamps at a yard sale and is the first i’ve used them. Thought the size of them was perfect for this layout.
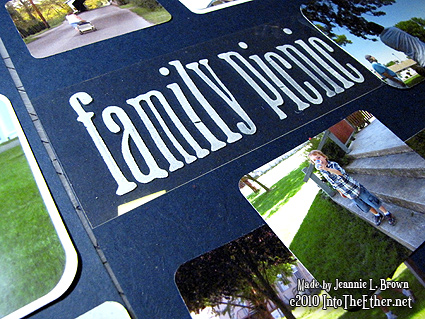
To keep my stamping straight, I taped my acrylic to my lined cutting mat (see it in the picture before the one above), then inked my stamp and pressed them into place lining up the bottom on the lines that showed through from my cutting mat. What is also nice about the ink on plastic is that if you screw up the stamping, you can just wipe off the ink and restamp.
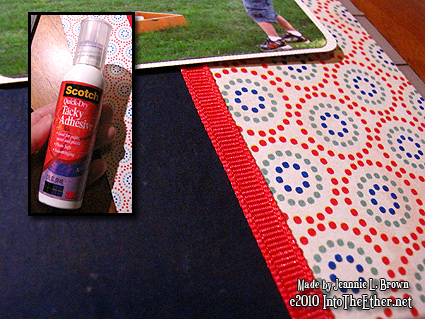
After this layout, I realized that I really love grosgrain ribbon. I found this in my ribbon drawer and thought it was the perfect color with my accent design paper. I use scotch brand Tacky Adhesive to adhere things like this. I recommend trying this glue out because the tip alone on this glue bottle is very small and helps make a nice thin bead of glue which I needed for this 1/4 width ribbon down the page.
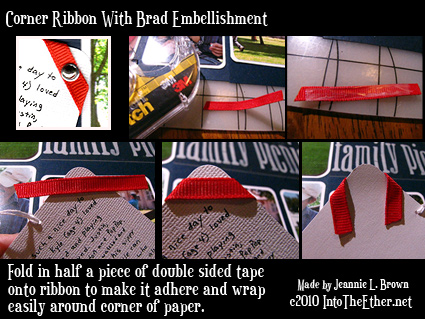
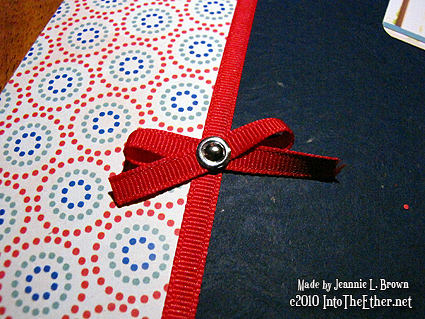
For my journalling block, after I wrote it I saw that I needed something on the two corners, so to make the ribbon easier to adhere to the corner, I cut a piece, doubled a piece of double sided paper to one side, and then wrapped it around which allowed it to fit cleanly there. To finish it off I punched a hole and placed a brad with a small ring around it to the middle.
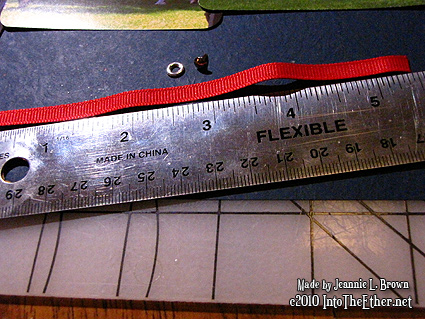
Making Bows With Brads
For the bows, I cut a ribbon 5 1/2 inches long and wrapped the ends over one another in a pretzel shape.
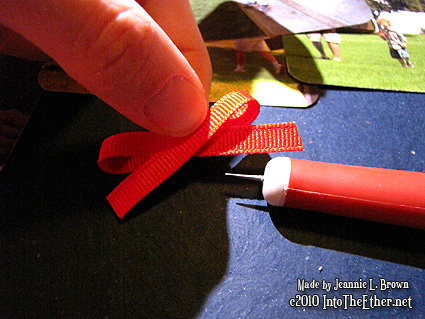
Then while I held the form in place, I punched a hole in the center to allow me to put the brad easier through the ribbon.
Here is the final bow. I taped it to the middle of the ribbon going down the page.
My New Embellishment Storage
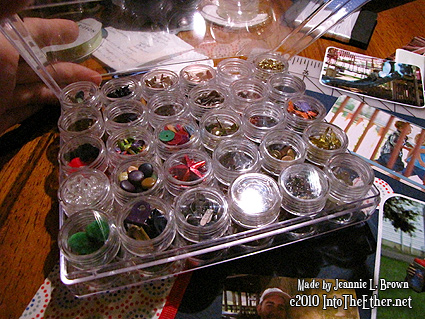
I wanted to share this with you. I bought this on a whim at the same time I bought my Jetmax cubes. They had all storage 50% off and really decided that my embellishment storage just wasn’t working for me. I really liked the small screwtop containers that were individual so I thought i’d try them out. When I get another 50% coupon at michaels, I definetly want to get another one. I like that I can only take the vial that I need out of the case. It is plenty large enough to hold one pack of any type of small brad pack or eyelet packs.
Thanks for visiting!
