Dressing Up A Dresser
One thing always leads to another. When I got my jetmax cubes and sat them beside my gift wrap dresser it showed me that it was obviously not painted white. I’ve had this dresser since I lived at home and always thought it was white. As you can see though compared to the jet max it’s just not. A bit icky looking actually! So that led me to an idea to paint the fronts blue. Here are the results.
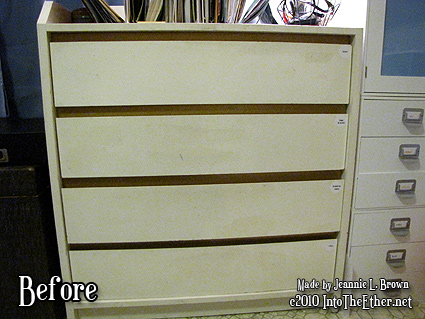
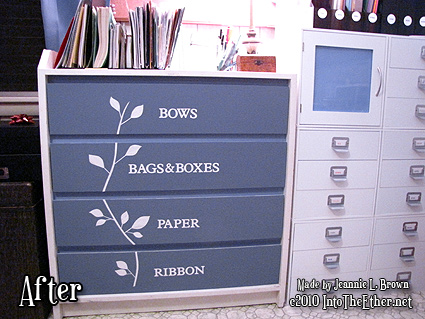
I did nothing to the white parts of the dresser but in this picture the blue some how really makes the white whiter so it looks much better next to my jetmax.
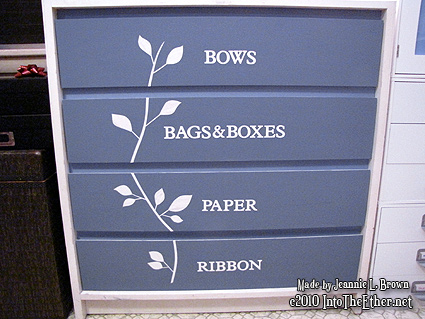
After I painted I couldn’t put those circle labels on their anymore so it progressed into an idea to label each drawer like this.
Here is how the project progressed
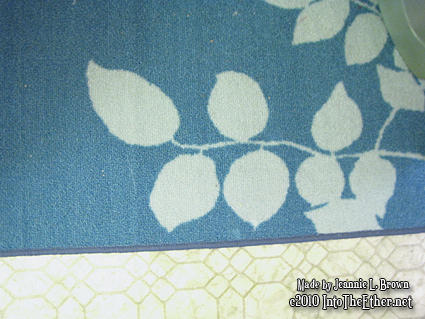
My mother found these really pretty rugs at a yard sale 2 for 2 dollars! I needed a rug when redoing my craft room so she gave me it to use. I based the leaf vine design to correspond to the rug.

I started where I was only going to paint the fronts blue. This is an antique stoneware blue. First coat. I was going to keep the gold but after I painted and seeing them next to each other I didn’t like it. So it progressed to me finding another shade of blue in my paints and painting over the gold.

Here is the front with both shades painted. I used a french blue to cover the gold. I could have left them this way, but the idea progressed into wanting to label my drawers. I didn’t want to use the label maker with circles like before.
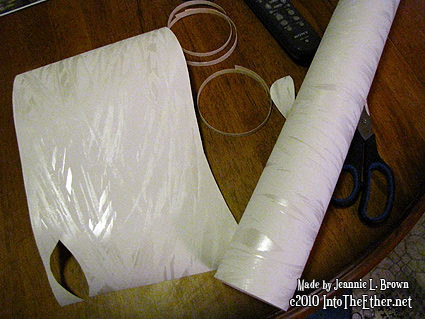
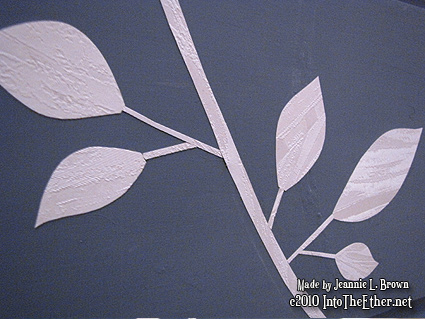
I found this roll of vinyl textured wallpaper at a yard sale for 1 dollar. I liked the pearlized look of it. I thought it might work for the leaves, vine, and the lettering.
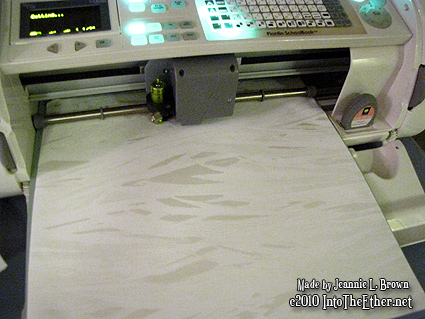
I cut out a bit of it and put it on my cricut mat. With Medium Pressure, and cutting blade at 5, with multi cut ON, I was able to cleanly cut out my lettering for each drawer. I used Plantin Schoolbook Cartridge.
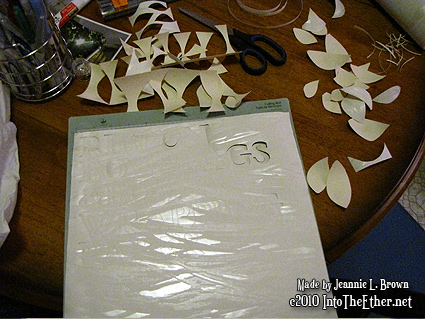
Here are the letters just cut, and I cut out by hand the leaf shapes. I also free hand cut the vines and stems.
When placing the words, I wanted them all to be centered down the middle, so imagined an invisible line down the middle of the dresser, then placed the middle letter or middle space of each word and placed them on from the inside out.
I then placed the larger vine spanning across each drawer front to look like it flowed from one to the other. I then placed stems, then finally the leaves.
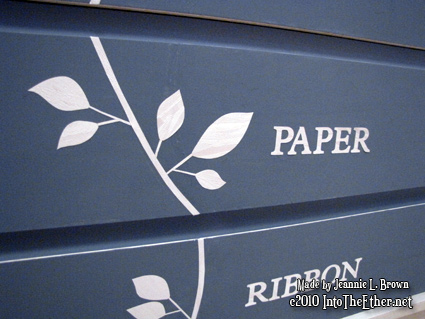
You can see the texture of the wallpaper in this photo close up.
You can see the 2 blue paint colors I used better in this photo. I am really happy with the way this turned out.
Thanks for visiting!



November 11, 2010 @ 10:11 AM
Nice Job..Love it !!
November 15, 2010 @ 9:39 PM
Thank you Becki Jo! It was really simple to do and the whole project probably took collectively about 2 or 3 hours to complete. Thanks for visiting!