Twilight Saga Paper Pins
Going with a group to the premiere of Eclipse and one of the girls is making shirts so I thought I’d return the favor and make pins. Here is what I came up with.
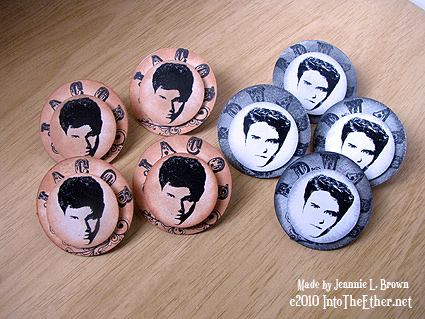
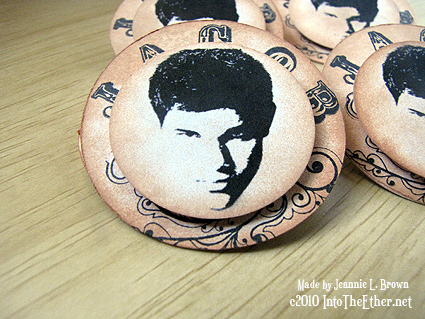
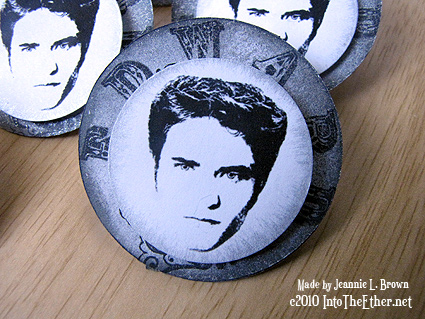
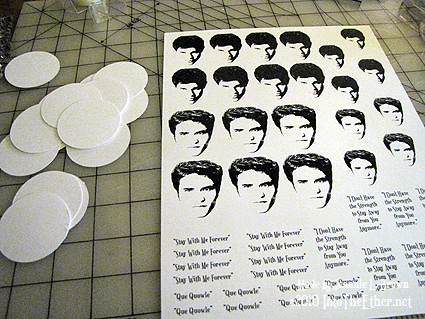
I started out by punching with my 1 1/2 circle punch the base for the pins out of white cardstock. I glued two circles together to make the base stronger for the pin. I then found two new moon promotional photos, brought them into photoshop and changed the color into high contrast black and white. I printed them on white cardstock into the size I needed. You see some text, I was going to put a line from the movie on the pin, but there wasn’t room.
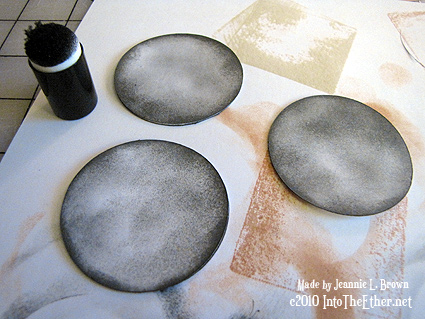
I thought I got a lighter grey ink, but these give almost a moon look so I put more of the grey on the edges for high contrast. You can’t see it in the photos, but I also took a cotton ball and put a little silver ink to make them sparkle a bit. Pun intended.
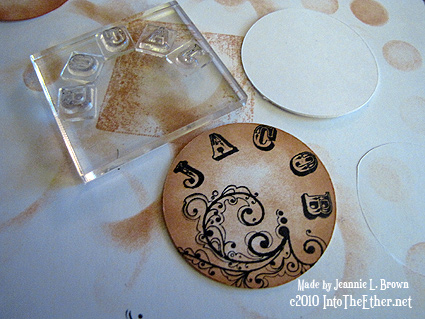
Here is Jacob’s base with name and flourish stamp.
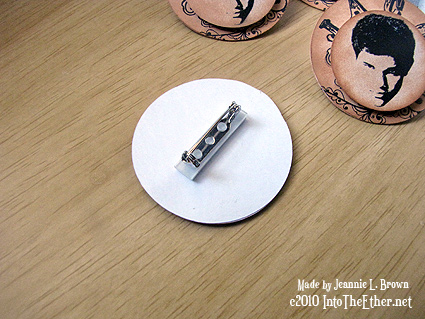
To give the piece with Jacob’s face more dimension, I stacked 2 dimensional dots on top of each other and placed it on top of the base.
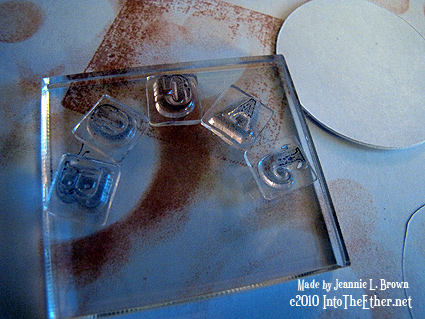
Curved Letter Stamping Tip
I wanted my words to curve to the circle, so I placed my letters right side down on a scrap 1 1/2 circle to fit.
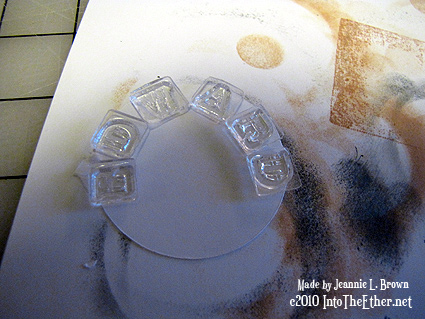
Then place your acrylic block on top so that the stamps will stick to it.
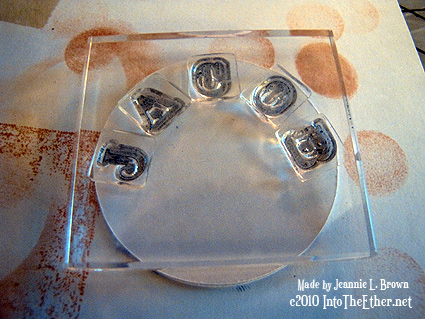
When you pick up the block, it will have the stamps perfectly placed for you to stamp all of your circles.

July 2, 2010 @ 6:56 AM
Hi Jeannie!! Awesome pins!! Love the sponging and design with the names.
You had asked how big my picture is on my blog. My picture is 6X6. My embossing folders are for A2 card sizes also but I put it through twice to emboss the whole piece of cardstock.
Thanks for stopping by my blog.
blessings,
Chris
July 13, 2010 @ 7:01 AM
Thanks for the info Chris! and thanks for the compliment on my pins. 🙂