Scrapbook Page “First Swim”
Some layouts don’t come as quickly as others. You know that ‘done’ feeling you get when your working on a page? Well, I got that feeling with this one finally tonight but I see a couple parts that could use a little ‘more’ but just not sure of ‘what’ just yet.
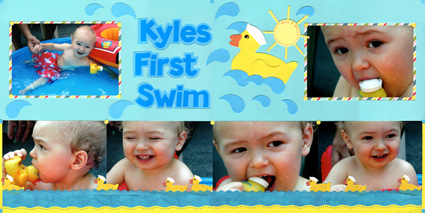
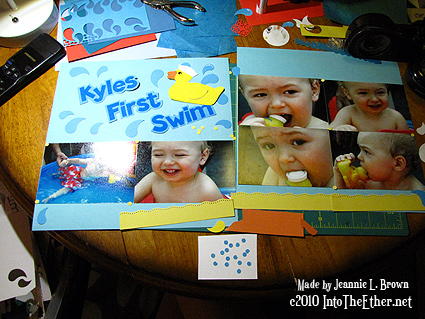
This page went through so many different variations. Below is a photo of one of them. All the elements were there that I wanted to use, it was figuring out which way worked best.
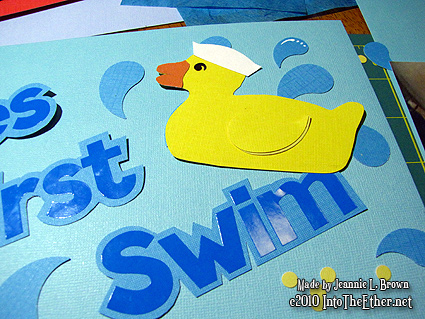
I didn’t have any stickers that were rubber ducks, so I drew the duck on cardstock and cut it out. Then, I drew the beak on orange paper, and the hat on white paper. My droplet punch worked great for the wing! For the eye, take a regular office supply hole punch and punch out of black. then cut a small curve out of it as seen in the picture for the eye with some small embroidery scissors.
Here are the pieces you’ll need to achieve this.
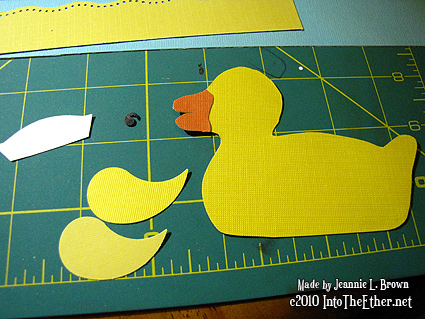
Then glue them together like so.
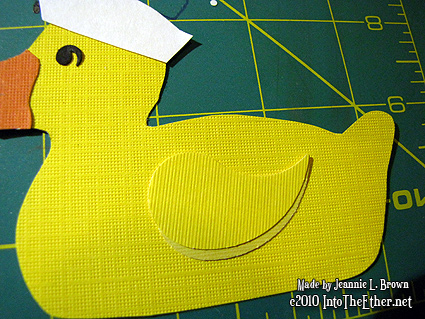
I scanned my duck at a high resolution if you’d like to use mine.
Download my paper pieced duck scrapbooking accent
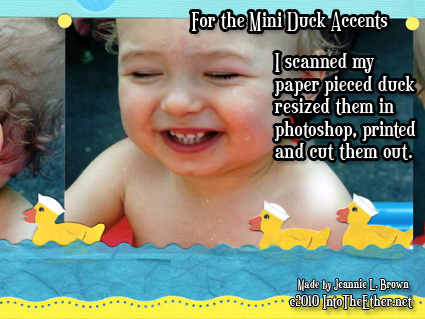
For the mini ducks, instead of trying to ‘make’ all of those small ones I scanned my large one, resized them in my photoshop program and printed them out on white cardstock. I then cut the amount that I needed for the page
Download the smaller versions of the duck accents (24 on one page)
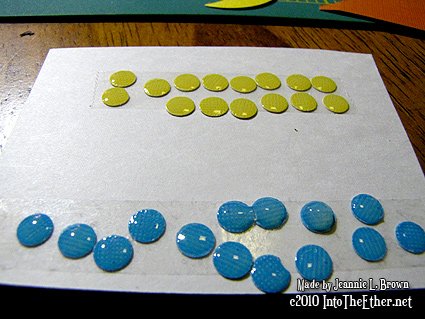
With a water theme, you have to try and make some shiny elements. I decided to use my hole punch to make dots, then put a small bit of glossy accents on top.
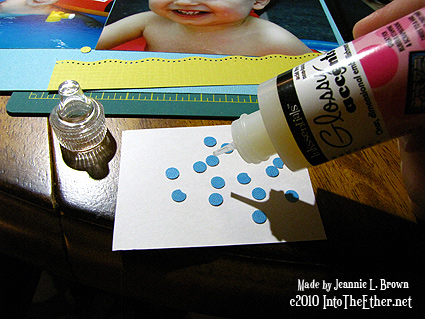
TIP: To keep them stationary while applying the glossy accents, place them on some double sided tape on a piece of paper that you can then set aside to dry.
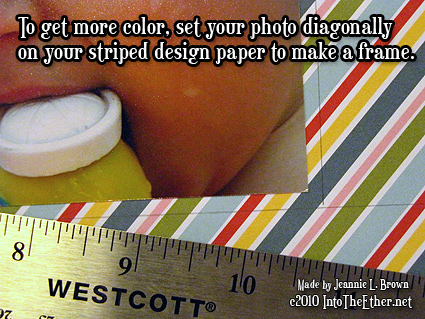
TIP: I had this pretty striped paper that had every color in the pictures I was using, but placing the picture horizontally or vertically, I just wasn’t seeing ‘enough’ of the color on the edge. So I tilted my paper on a diagonal and marked my frames to cut them out. Yes you use alot of paper but to sacrifice a whole sheet of 12 x 12 to get this colorful frame IS worth it.
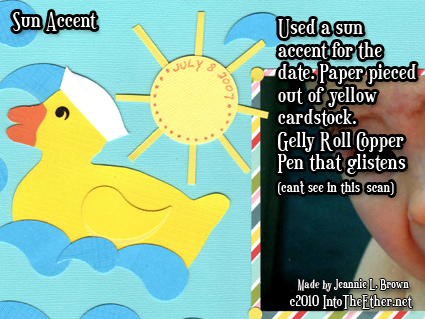
When I was done the page, I still couldn’t figure out what to put the date on. I didn’t want to put it on another water droplet. So the last accent I added was the sun with the date and dots written in my Gelly roll copper pen. This is one of the first times I’ve used my Gelly roll pens. I really love the shimmer. You can’t see it on the scan though.
Thanks for visiting!

October 13, 2010 @ 6:14 PM
Jeannie, just had to let you know you do the cutest work.I wish I had your talent.
October 18, 2010 @ 8:29 AM
Hi Gina! Thank you for the kind comment. I appreciate that! I really believe practice helps with this hobby so my suggestion would be to keep doing that. To get better, I would suggest looking at other peoples layouts but also videos on ‘techniques’ rather then ‘how to make a certain layout’. I’m not a fan of ‘sketches’ they block creativity a bit. Learn different techniques like embossing, different techniques you can do with cordinations paper and then in turn your mind will start applying it creatively to your own purposes. Talk to you later!